
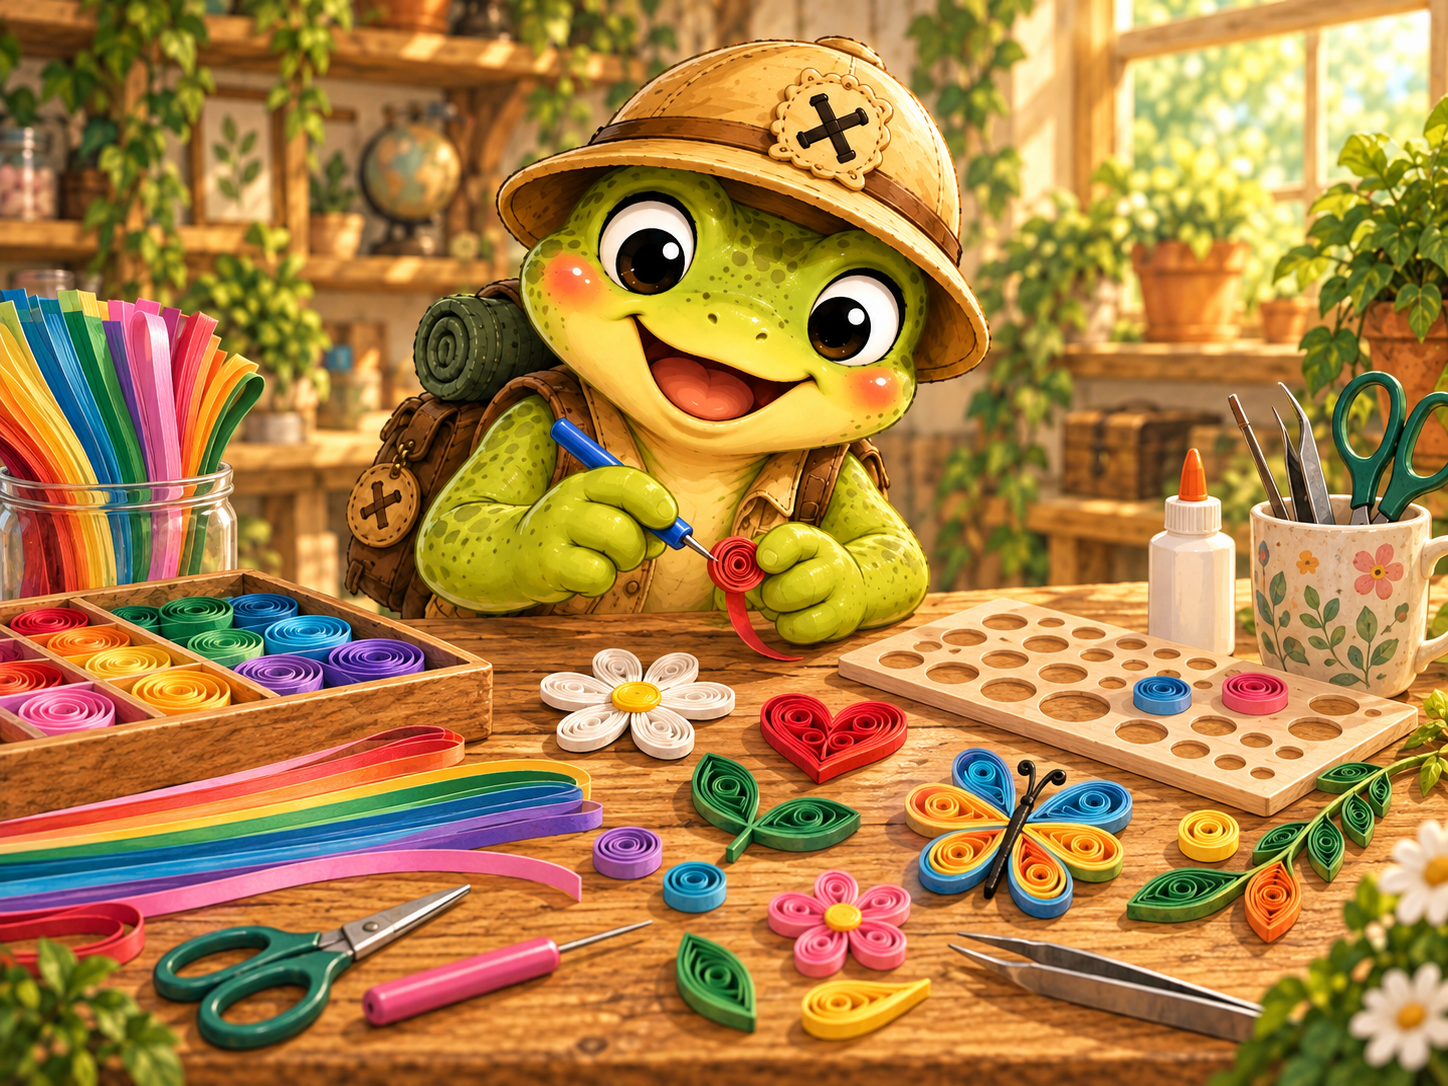
Paper quilling is a creative craft that turns narrow strips of paper into decorative shapes, patterns, and designs. By rolling, pinching, shaping, and gluing paper strips, you can create everything from simple flowers and hearts to cards, framed artwork, and detailed decorations.
This guide covers the basics of quilling for beginners, including the supplies and tools you need, how to choose quilling paper and glue, how to make basic shapes, beginner techniques, easy project ideas, and common mistakes to avoid. If you’re completely new to paper quilling for beginners, this will give you a clear starting point without overcomplicating the process.
Ready to Xplore quilling? Let’s get started!
Xploration Map
- What Is Paper Quilling?
- What Do You Need for Quilling?
- Quilling Tools for Beginners
- How to Do Quilling: Step by Step
- How to Make Basic Quilling Shapes
- Quilling Techniques for Beginners
- Easy Quilling Ideas for Beginners
- Common Quilling Mistakes Beginners Make
- Is Quilling a Good Hobby for Beginners?
- Quilling FAQs

What Is Paper Quilling?
Paper quilling is a craft that uses narrow strips of paper that are rolled, shaped, and glued together to create decorative designs. The basic technique is simple: a strip of paper is wound into a coil, allowed to loosen if needed, and then pinched or shaped into forms such as teardrops, leaves, hearts, and petals.
Those individual shapes can be combined into larger designs, including flowers, animals, letters, greeting cards, ornaments, and framed artwork. Some quilling projects are very simple, while others use dozens or even hundreds of small pieces to create detailed patterns.
One reason paper quilling works well for beginners is that the basic skills are easy to learn and require only a few inexpensive supplies. Once you understand how to make a few common shapes, you can start combining them in different ways to create your own designs.
What Do You Need for Quilling?

You don’t need many supplies to get started with paper quilling, and most beginner projects can be made with just a few basic tools.
- Quilling paper strips: Pre-cut strips are the easiest option for beginners because they come in consistent widths and a wide range of colors.
- Slotted quilling tool: This small tool helps you roll paper strips into tight, even coils and is usually the easiest tool for beginners to use.
- Glue: A small amount of clear-drying craft glue is enough to secure coils and attach finished shapes to your project.
- Tweezers: Helpful for placing small shapes and making precise adjustments.
- Scissors: Useful for trimming paper strips or cutting your own strips if needed.
- Ruler: Helps measure strips when you want consistent lengths.
- Work surface: A smooth surface or craft mat gives you a clean area to roll and assemble your designs.
- Quilling board: Optional, but useful for making coils in consistent sizes.
- Quilling comb: Another optional tool used for creating looped or woven-looking designs.
For your first project, keep it simple. A pack of quilling paper, a slotted tool, glue, and scissors are enough to start practicing basic coils and shapes.
What Paper Should You Use for Quilling?
Quilling paper is usually sold as long, narrow strips in different widths, colors, and weights. For beginners, pre-cut strips are the easiest option because they are already uniform and ready to roll.
Standard lightweight quilling paper is usually easier to shape than thicker cardstock. Narrower strips work well for small, detailed designs, while wider strips can create bolder shapes and larger projects.
You can also cut your own paper strips, but getting the width perfectly consistent can take more time and practice. For your first few projects, pre-cut quilling strips are the simplest way to get started.
What Glue Should You Use for Quilling?
A clear-drying craft glue or white PVA glue works well for most paper quilling projects. The most important thing is to use only a very small amount, since too much glue can soak into the paper, leave visible residue, or make delicate shapes harder to position.
A fine-tip glue bottle, toothpick, or small applicator can make it easier to control how much glue you use. Apply just enough to secure the end of a coil or attach a finished shape to your project.
For beginners, there’s no need for a special quilling adhesive. A basic paper-safe glue that dries clear is usually enough.
Quilling Tools for Beginners
You can make simple quilling projects with only a few basic tools, but some extras can make rolling, shaping, and arranging paper easier as you practice.
- Slotted quilling tool: The most beginner-friendly option for rolling paper strips into coils.
- Needle tool: A thin, pointed tool that can create tighter centers, but it usually takes more practice than a slotted tool.
- Tweezers: Useful for picking up small shapes and positioning them precisely.
- Quilling board: Helps keep coils consistent by giving you different-sized circles to work with.
- Quilling comb: Used to create looped and layered designs that are difficult to make with a standard rolling tool.
- Fine-tip glue applicator: Helps control small amounts of glue and reduces mess.
You don’t need to buy every quilling tool right away. For most beginners, a slotted tool, tweezers, and basic supplies are enough to learn the fundamentals before adding more specialized tools.
Slotted Quilling Tool
A slotted quilling tool is one of the easiest tools for beginners to use. It has a small slot at the tip where you insert the end of a paper strip, making it easier to hold the paper in place while you roll it into a coil.
Because the strip stays anchored as you turn the tool, you can create coils more quickly and with better control than you usually can by rolling paper with your fingers.
The main tradeoff is that a slotted tool can leave a tiny crease in the center of the coil. For most beginner projects, that isn’t a problem, and the extra control makes it a very practical starting tool.
Quilling Board
A quilling board is a template with circles in different sizes that helps you make loose coils more consistent. After rolling a paper strip, you can place the coil into one of the circles and let it expand to the size you want before gluing the end.
This is especially helpful when a design needs several matching shapes, such as flower petals or leaves.
A quilling board is useful, but it isn’t essential for beginners. You can still learn the basic techniques without one and add it later if you want more consistent sizing.
Quilling Comb
A quilling comb is a tool with evenly spaced teeth that lets you wrap paper strips around the prongs to create looped, woven, and layered shapes.
It’s especially useful for designs such as petals, leaves, and decorative borders where you want repeated loops with even spacing.
A quilling comb is more specialized than a slotted tool, so beginners don’t need one right away. It’s a good tool to add later once you’re comfortable making basic coils and shapes.
How to Do Quilling: Step by Step
Once you have your paper and basic tools ready, the quilling process is fairly simple. Most designs start with a rolled paper coil that is then shaped and combined with other pieces.
- Insert the paper into the tool: Slide one end of a quilling strip into the slot of your slotted tool.
- Roll the strip: Turn the tool while gently guiding the paper so it wraps into an even coil.
- Remove the coil: Carefully slide the rolled paper off the tool while keeping it together.
- Let it loosen if needed: For a loose coil, allow the paper to expand slightly before securing it.
- Glue the end: Add a tiny amount of glue to the end of the strip and press it into place.
- Shape the coil: Pinch or press the coil to create shapes such as teardrops, leaves, or petals.
- Arrange your pieces: Place the finished shapes together until you are happy with the design.
- Glue the design in place: Attach the shapes to your card, paper, or other surface and let the glue dry completely.
Your first coils may not all come out perfectly even, and that’s normal. With a little practice, your rolling and shaping will become much more consistent.
How to Make Basic Quilling Shapes

Most paper quilling designs are built from a handful of basic shapes. Once you know how to make a loose coil, you can pinch and press it in different ways to create many of the forms used in beginner projects.
- Tight coil: Roll the paper firmly and glue the end before allowing it to loosen.
- Loose coil: Roll the strip, remove it from the tool, and let it expand before gluing the end.
- Teardrop: Start with a loose coil and pinch one side to form a point.
- Marquise or eye: Pinch opposite sides of a loose coil to create points at both ends.
- Square: Pinch four evenly spaced points around a loose coil and gently shape the sides.
- Triangle: Pinch three points around the coil to form three corners.
- Heart: Fold or shape the paper so the top forms two rounded sides with a point at the bottom.
- Scroll: Curl one or both ends of a paper strip without gluing them into a closed coil.
Beginners don’t need to master every shape at once. Start with loose coils, teardrops, and marquise shapes, then add more as your control improves.
Quilling Techniques for Beginners
Once you’re comfortable making basic coils and shapes, a few simple quilling techniques can help you create more polished designs and experiment with different styles.
- Tight coils: Roll the paper firmly and glue the end before letting it loosen. These work well for small accents and centers.
- Loose coils: Roll the strip, remove it from the tool, and let it open slightly before gluing. Loose coils are the starting point for many beginner shapes.
- Pinching and shaping: Use your fingers to pinch loose coils into teardrops, marquise shapes, triangles, squares, and other forms.
- Layering: Combine several simple shapes together to build flowers, butterflies, leaves, and other designs.
- Scrolling: Curl one or both ends of a strip without closing it into a full coil. Scrolls add movement and decorative detail.
- Outlining: Use paper strips to trace the outer edge of a design before filling the inside with quilled shapes.
- Looping: Make repeated loops of paper to create petals, leaves, or more decorative textured designs.
- Using tweezers for placement: Tweezers can help you position small shapes more neatly and accurately, especially when working on detailed projects.
You don’t need to master every technique right away. Start with loose coils, pinching, and simple layering, then try more decorative methods as you become more confident.
Easy Quilling Ideas for Beginners

Once you know how to make a few basic shapes, you can combine them into all kinds of simple projects. Beginner quilling designs work best when they use a small number of shapes and don’t require perfect symmetry.
- Flowers: Combine teardrops or marquise shapes to make petals, then add a tight coil for the center.
- Hearts: Use curved strips or shaped coils to create simple heart designs for cards and decorations.
- Butterflies: Pair matching teardrops or marquise shapes to create colorful wings.
- Leaves and branches: Use marquise shapes and scrolls to build simple botanical designs.
- Greeting cards: Add a small quilled flower, heart, or border to a blank card.
- Initials and letters: Outline a letter with paper strips or fill it with small quilled shapes.
- Simple animals: Create designs such as birds, fish, snails, or insects using basic coils and teardrops.
- Small framed designs: Arrange a few shapes into a simple picture and display it in a small frame.
If you prefer following a design instead of creating one from scratch, quilling patterns for beginners can be a helpful way to practice. Start with simple patterns that use only a few shapes, then move on to more detailed designs as your skills improve.
Common Quilling Mistakes Beginners Make
Paper quilling is fairly forgiving, but a few common mistakes can make your first projects harder than they need to be.
- Using too much glue: A tiny amount is usually enough. Too much glue can soak into the paper, leave visible marks, or make pieces harder to position.
- Rolling coils too tightly: Tight coils have their place, but many beginner shapes need room to expand before they are pinched or shaped.
- Making uneven coils: Inconsistent tension can make matching shapes look different. Try to roll with steady, even pressure.
- Letting coils unravel: Hold the coil carefully when removing it from the tool and glue the end once it reaches the size you want.
- Using paper that is too thick: Heavy cardstock can be harder to roll and shape than lightweight quilling paper.
- Skipping dry time: Moving or adjusting pieces before the glue sets can cause your design to shift.
- Starting with a design that is too complicated: Simple flowers, hearts, leaves, and basic patterns are easier for learning the fundamentals.
- Trying to make every shape perfect: Small differences are normal, especially when you’re just starting out.
Your first projects may look a little uneven, and that’s part of learning. Focus on getting comfortable with rolling, shaping, and gluing before worrying about perfect consistency.
Is Quilling a Good Hobby for Beginners?
Paper quilling is a good hobby for beginners because the basic techniques are simple to learn, the startup cost is relatively low, and you don’t need much space to practice.
You can begin with just a few supplies and make small projects without committing to a large workspace or expensive equipment. Simple coils, flowers, hearts, and leaves can be learned quickly, while more detailed patterns give you plenty of room to improve over time.
Quilling is also flexible. You can spend a few minutes practicing shapes, make a greeting card in one sitting, or work on a larger framed design over several sessions.
For beginners who enjoy hands-on crafts, detailed work, and experimenting with color and pattern, quilling can be an easy hobby to start and continue developing.
Quilling FAQs
Is quilling hard to learn?
The basic techniques are fairly simple to learn, especially when you start with loose coils, teardrops, and other basic shapes. More detailed quilling designs take additional practice, but beginners can make simple projects fairly quickly.
What are some simple quilling ideas for beginners?
Flowers, hearts, butterflies, leaves, greeting cards, initials, and simple framed designs are all good beginner projects. Look for designs that use only a few basic shapes while you’re learning.
What is the best paper to use for quilling?
Lightweight, pre-cut quilling paper is usually easiest for beginners because the strips are consistent in width and easy to roll and shape. Thicker cardstock can be more difficult to work with.
What are the basic quilling tools needed for beginners?
At minimum, you can get started with quilling paper strips, a slotted quilling tool, glue, and scissors. Tweezers and a quilling board can be helpful, but they aren’t required for your first projects.
Before You Hop Away
That was quite an Xploration! Now you know the basics of paper quilling, including the supplies and tools you need, how to make basic shapes, beginner techniques, simple project ideas, and common mistakes to avoid.
What would you like to Xplore next? Want a deeper guide to quilling paper, tools, patterns, cards, or something completely different?

Let me know in the comments what hobby or topic you’d like to see next!
Until next time, keep creating! ✂️
Hoppy Xploring!


Leave a Reply